
by Thomas | Apr 26, 2024 | Wordpress
Unlocking the Power of Easy Blog Networks: Simplifying Blog Management for SEO Success In the ever-evolving landscape of digital marketing, maintaining a strong online presence is paramount. For SEO professionals and website owners, managing multiple blogs across... 
by Thomas | Apr 14, 2024 | Wordpress
Are you looking to enhance your WordPress website with some amazing plugins? Look no further, as we have compiled a list of the best WordPress Plugins You Need in 2024, that will take your site to the next level. The Top WordPress Plugins You Need in 20241.... 
by Thomas | May 11, 2021 | Wordpress
Being the victim of a WordPress hack can be a really frustrating situation. But, like most things in life, taking a step back, breathe and focus on one step at a time can make it all easier for you to get through and make the hack have as little impact as possible.... 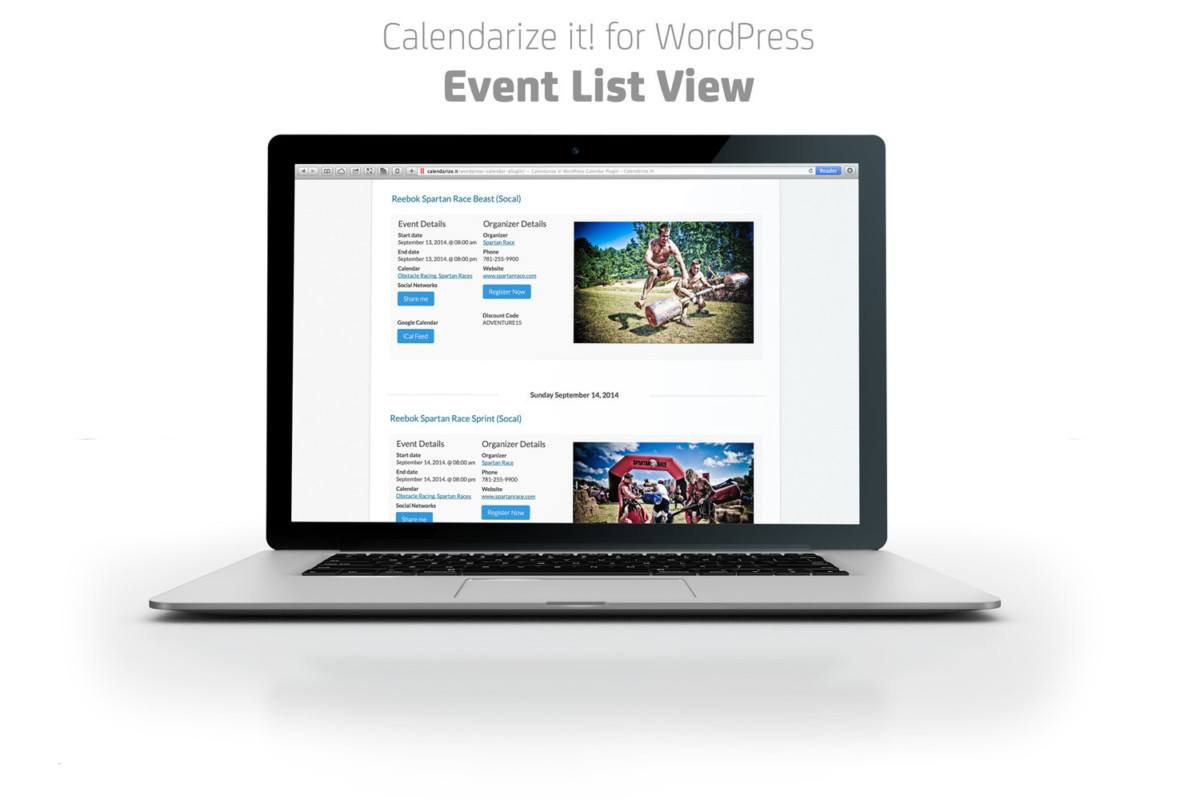
by Thomas | Nov 17, 2017 | Wordpress, Wordpress Themes
If you have just started your own WordPress website or blog you are possibly looking for a great WordPress booking plugin or calendar, like the ones used on booking.com. A WordPress booking plugin allows you to add events and bookings to your site to make them easy to... 
by Thomas | Apr 21, 2016 | Wordpress
Setup Woocommerce The most utilized plugin for WordPress eCommerce websites is WooCommerce. If you are running a store or have your own digital products if you set up WooCommerce, it is pretty easy for you to get started and maintaining, and if you want to expand it,... 
by Thomas | Apr 1, 2016 | Wordpress
As the saying goes ‘an image is worth a thousand words’. Having youtube videos in your posts makes it more rich and users become more engaged to watch videos that can describe or show something more vividly rather than reading about it. But most of the...